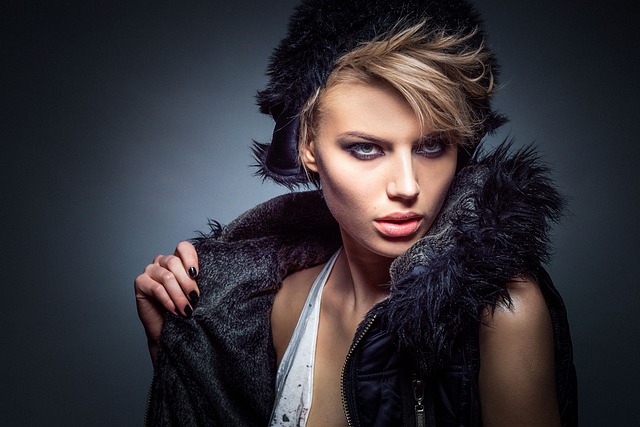
.jpg)
Editing portraits for a professional look involves a blend of technical skills, artistic vision, and an understanding of the desired outcome. Here are some steps and techniques to achieve a polished and professional appearance in portrait editing:
### 1. **Start with High-Quality Images:**
Begin with high-resolution, well-exposed, and sharp images. Good quality photographs serve as a solid foundation for editing and make the process more manageable.
### 2. **Basic Adjustments in Editing Software:**
Use photo editing software like Adobe Photoshop, Lightroom, or other available tools to make basic adjustments. These include adjusting exposure, contrast, white balance, and cropping. Ensure proper framing and composition.
### 3. **Skin Retouching:**
Smooth skin while preserving natural texture. Tools like the healing brush, clone stamp, or frequency separation can help remove blemishes, wrinkles, and other imperfections. Aim for a balance between flawless skin and retaining the subject's natural appearance.
### 4. **Eyes and Teeth Enhancement:**
Brighten and sharpen eyes to make them more prominent. Adjust eye color if needed. Teeth whitening can also enhance the overall look but should be done subtly and realistically.
### 5. **Color Correction and Grading:**
Adjust colors to create a consistent and pleasing tone throughout the image. Experiment with color grading to set the mood and style, making the portrait more visually compelling.
### 6. **Dodging and Burning:**
Use dodging to brighten specific areas and burning to darken others. This technique adds depth and dimension to the portrait, emphasizing contours and highlights.
### 7. **Hair Retouching:**
Clean up stray hairs and enhance hair texture. Pay attention to flyaways and ensure the hair looks neat and well-groomed.
### 8. **Background Enhancement:**
Blur the background (bokeh effect) to draw attention to the subject. Remove distractions or correct any elements that detract from the main focus.
### 9. **Facial Feature Adjustment:**
Subtly adjust facial features, if necessary. Be cautious with this step to avoid making unrealistic alterations. Reshape features like the nose, jawline, or eyebrows sparingly and in line with the subject's natural appearance.
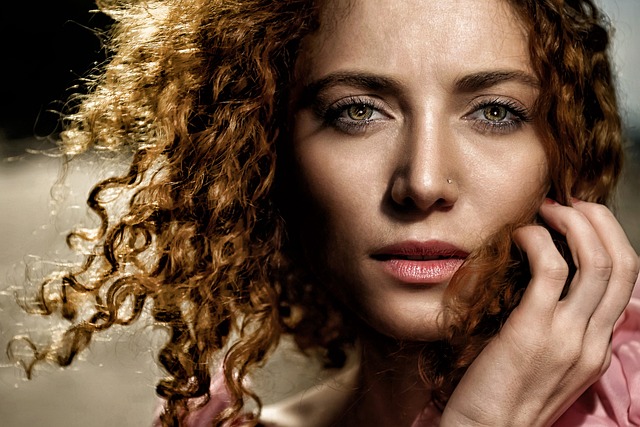
.jpg)
### 10. **Noise Reduction and Sharpening:**
Reduce noise in the image and apply sharpening techniques to enhance details. Balancing these adjustments is essential for a clean and crisp final image.
### 11. **Consistency Across Multiple Images:**
If editing a series of portraits, ensure consistency in the editing style, color, and overall look to maintain a cohesive visual narrative.
### 12. **Save Different Versions:**
Save multiple versions of the edited image, including a high-resolution copy for print and a web-optimized version for online use.
### 13. **Feedback and Revisions:**
After the initial edits, it's valuable to get feedback, especially from the client or a peer, and make any necessary revisions to meet the desired look.
.jpg)
Remember, the goal in portrait editing is to enhance the subject's appearance while maintaining a natural and realistic look. Strive for a professional finish that aligns with the intended purpose, whether it's for personal use, professional headshots, or commercial purposes. Practicing different techniques and styles will refine your skills and help you achieve a consistent and professional look in portrait editing.
.jpg)

.jpg&description=How to Edit Portraits for a Professional Look of 2023)
2 Comments
Good well done
ReplyDeletewell job
ReplyDelete